 |
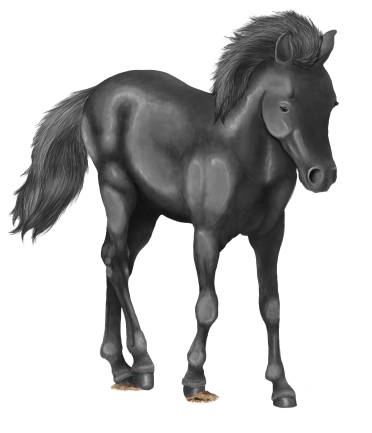
| a finished greyscale base |
This is a finished greyscale base I created. I spent quite a while on this, making sure the contrasts were good and that it was detailed properly.
To start colouring it I first make a new layer with a clipping mask for each part of the base- so for the body, hooves and hair. All you need to do to make a clipping mask is check the box for it when the New Layer window pops up.
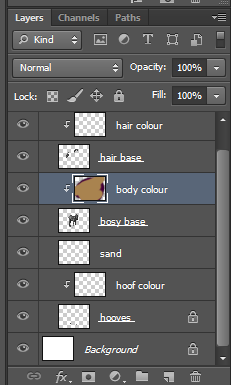 |
| my layer palette with all the clipping masks added |
As you can see in the layer preview window, I've scribbled all over the body colour layer. Because I have a clipping mask added to the previous layer it means that everything on the colour layer will be confined to the space of the base layer.
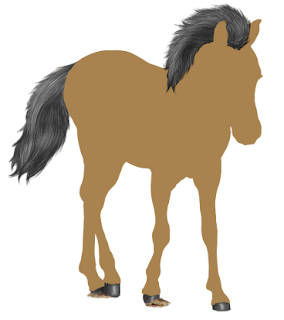 |
| the result of the clipping mask |
Then to actually use the base properly I change the Layer Style of the coloured layer to 'Soft Light'. There are many other styles to be chosen from however I think 'SL' gives the best balance between tone and colour.
 |
| all the layer styles in photoshop |
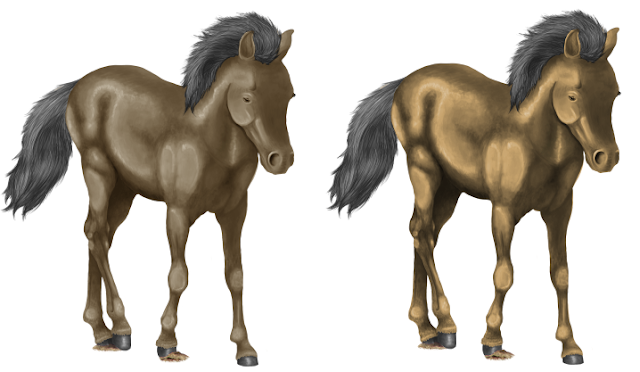 |
| 'Soft Light' layer style VS 'Overlay'. |
Above is a comparison of two layer styles, 'Soft Light' (which I use) and 'Overlay'. Personally I think the overlay setting makes the colour too saturated- especially when working with brighter colours, and if it looks a little underexposed like the one on the left you can always use the Curves tool to edit the contrast and lightness of the base.
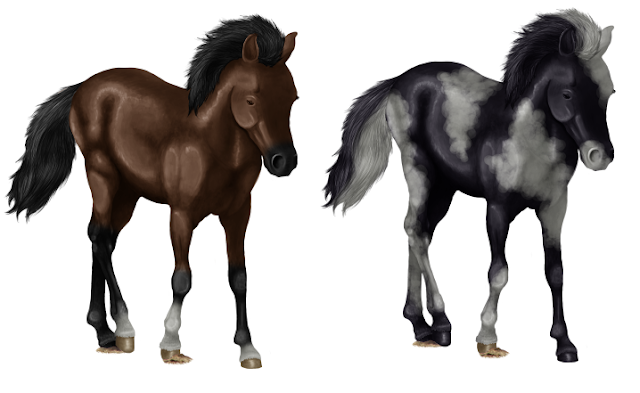 |
| a bay and black tobiano coloured horse |
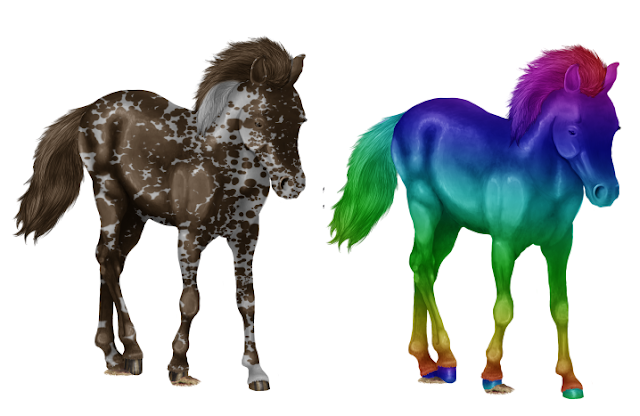 |
| a liver chestnut leopard horse and a RAINBOW PONY :D |
With more complex greyscale bases you can build up layers and layers of different colours, however I can work with one layer just fine.


No comments:
Post a Comment